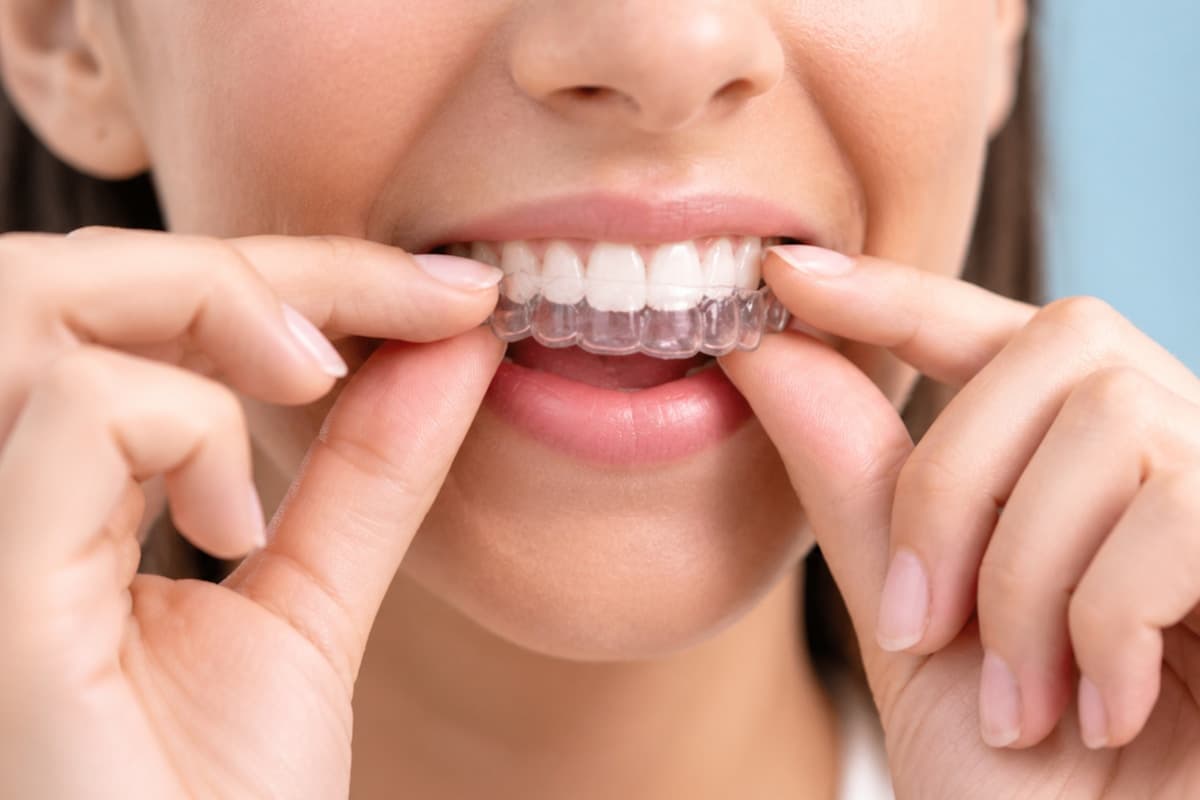
Most clear aligner cases that lose track do not fail because of the plastic tray. They fail because attachment design, interproximal reduction (IPR), and staging were treated as three separate checkboxes instead of one biomechanical plan. When those decisions conflict—rotating a tooth before space exists, extruding without retention, or stacking opposing movements in the same stage—aligners flex, contacts bind, and refinements multiply. This guide explains how experienced planners connect attachments, IPR, and sequencing into a coherent setup, and how clinics can review those decisions before fabrication. If you already outsource staging, use it as a clinical checklist during plan approval. If you are evaluating a partner, compare it against the aligner treatment planning deliverables you should expect: staged movement, attachment maps, IPR schedules, and manufacturing-ready files. For submission mechanics, pair this article with our case workflow and the onboarding guide for first-case intake. Before accepting software-generated recommendations, review the evidence and limitations of AI-assisted planning.
Clinical Benefits
- Higher tracking predictability when attachments match the intended force system rather than defaulting to a software template
- Fewer mid-course refinements by creating space before crowded teeth are asked to move into occupied contacts
- Clearer chairside protocols: attachment bonding templates, IPR amounts by contact, and stage-by-stage sequencing your team can follow
- Stronger patient communication because vertical, rotational, and anteroposterior goals are visible in a reviewed digital setup
- Scalable orthodontic quality for general practices that retain clinical approval while outsourcing staging complexity
Clinical Applications
Attachment, IPR, and staging decisions matter most when movement predictability is low or space management is critical. Use this planning lens on the case types below—and escalate complex combinations to an experienced planning partner early.
- Rotated canines and premolars that need rectangular or beveled attachments plus staged derotation before extrusion or torque
- Crowding cases requiring graded IPR, limited expansion, or distalization before alignment stages begin
- Deep-bite and Curve of Spee leveling where anterior intrusion must follow posterior anchorage preparation
- Extrusion and open-bite correction where aligner retention alone is insufficient without properly oriented attachments
- Pre-restorative alignment where tooth positions must land within prosthetic and periodontal limits before veneers or crowns
- Refinement setups after tracking loss, when attachment redesign and re-staged IPR often outperform simply reprinting the original sequence
Digital Workflow
Treat attachments, IPR, and staging as a single approval loop. Review them together on every returned setup before you authorize trays—software defaults are a starting proposal, not a finished clinical plan.
- Define the clinical endpoint first: arch form, overjet/overbite targets, teeth that must not move, and any restorative or surgical constraints
- Identify space needs early—expansion, distalization, proclination limits, and IPR candidates—before approving alignment stages
- Assign attachments by movement type: retention for short crowns, rotational control for rounded teeth, vertical aids for extrusion/intrusion, and anchorage support for reactive units
- Stage synergistic movements together and separate opposing ones; create space before moving teeth into it; sequence deep-bite leveling in phases
- Map IPR by contact, amount, and stage so chairside reduction matches the digital plan rather than a single end-of-sequence guess
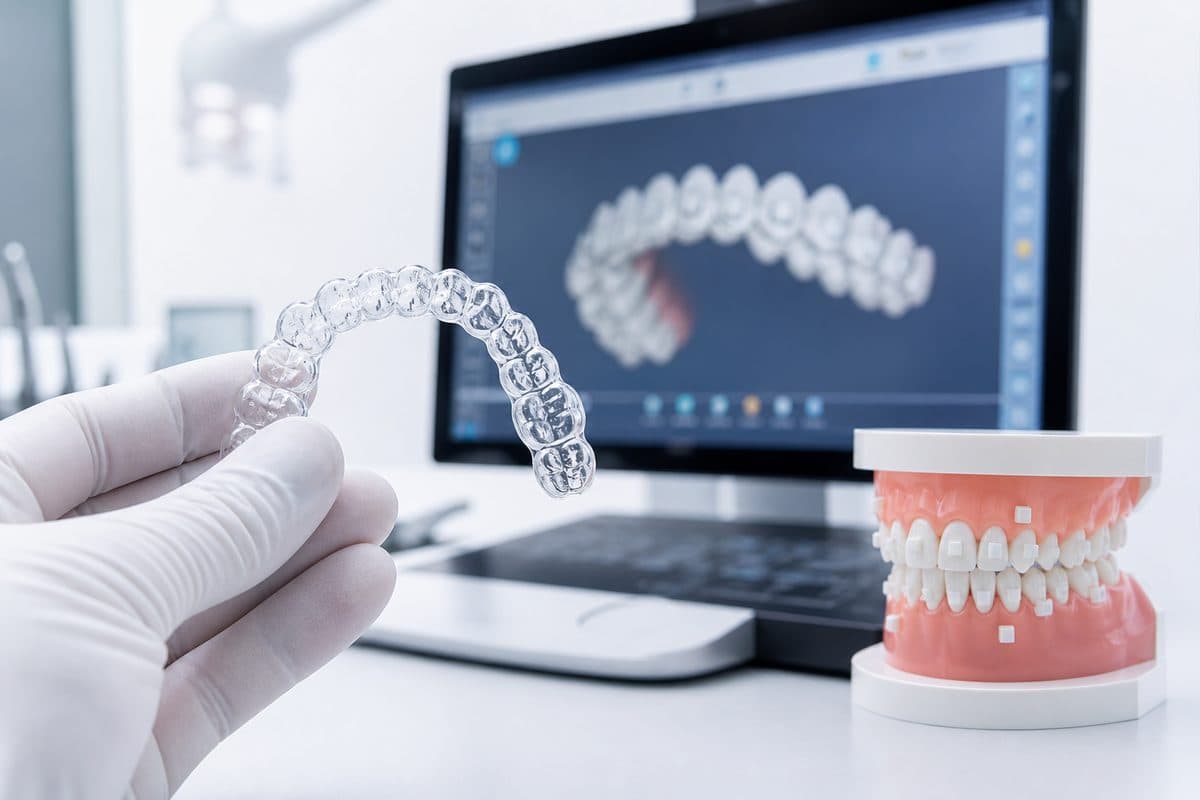
- Approve the full package—staging movie, attachment template, IPR schedule—then fabricate; schedule progress checks before late refinements become the only option
Best Practices
- Review attachment morphology and position relative to the intended movement—not only whether an attachment is present
- Prefer graded IPR timed after contacts are accessible, with fluoride protocol after reduction where clinically indicated
- Keep per-stage movement within biologically realistic limits; aggressive staging looks faster on screen and fails in the mouth
- Document patient compliance expectations and wear schedules alongside the staging plan so chairside coaching matches the biomechanics
- Submit complete records—full-arch scans, bite, photos, and a precise prescription—so planners do not invent IPR or attachment strategy from incomplete data
- Use progress scans at roughly one-third and two-thirds of the sequence; early refinement with corrected staging beats finishing a non-tracking series
Common Mistakes to Avoid
- Accepting default attachment maps without checking whether shapes and locations match the planned movements
- Planning IPR amounts that cannot be executed accurately chairside, then wondering why contacts still bind
- Stacking opposing movements in one stage (for example rotation plus extrusion) and calling the result “efficient”
- Starting major alignment before space exists through expansion, distalization, or timed IPR
- Treating refinements as tray reprints instead of opportunities to redesign attachments and re-stage residual movements
- Approving setups without reading the IPR and attachment reports that manufacturing and chairside teams will follow
“Attachments create the force system, IPR creates the space, and staging decides when each happens—if any one of those is guessed, the trays inherit the guess.”
Conclusion
Strong outcomes in clear aligner attachments, ipr & staging: a practical planning guide depend on clear clinical goals, accurate records, and a planning partner who understands manufacturing requirements. Explore our specialist service, review the case submission workflow, or contact our team to discuss your next case.