Dental Planning Lab
  • Home
  • Services
  • Workflow
  • Pricing
  • About
  • Blogs
  • Contact
Submit a Trial Case
  • Home
  • Services
  • Workflow
  • Pricing
  • About
  • Blogs
  • Contact
  • Submit a Trial Case

Dental Planning Lab

Your Digital Dental Design Partner.

Quick Links

  • Home
  • Services
  • Workflow
  • Pricing
  • About
  • Blogs
  • Contact

Services

  • Aligner Treatment Planning
  • Implant Planning
  • Complete Denture Design
  • Partial Denture Design
  • Restorative Dentistry

Get in Touch

  • info@dentalplanninglab.com
  • +92 310 9076633
  • Lahore, Pakistan
  • Mon – Sat

© 2026 Dental Planning Lab. All rights reserved.

Made by Hamza Ejaz

Privacy PolicyTerms of Service
Dentist reviewing a panoramic dental X-ray with a patient during case consultation
Aligner Treatment Planning·5 min read·June 22, 2024·By Dental Planning Lab Team

How to Submit Your First Aligner Case to a Planning Lab

Submitting your first aligner case to an outsourced planning lab can feel daunting, but the process follows a predictable structure once you understand what planners need to build an accurate digital setup. Our case submission workflow is designed to guide new clinic partners through intake, planning review, and delivery with minimal friction. This article walks through each step so your first aligner planning submission sets the standard for every case that follows.

Clinical Benefits

  • Structured intake process that confirms record completeness before planning begins
  • Direct communication channel with planners for questions during your first case review
  • Digital file transfer that eliminates shipping delays and physical model requirements
  • Repeatable workflow template your team can use for all future aligner submissions

Clinical Applications

From routine cases to complex multidisciplinary treatment, the following applications are where digital planning delivers the most value for clinics, laboratories, and specialists.

  • First-time aligner cases for practices launching clear aligner therapy with outsourced planning
  • Trial case submissions to evaluate planning quality before committing to volume partnership
  • Training submissions for new team members learning the digital intake process
  • Simple crowding or spacing cases ideal for building confidence in the lab partnership

Digital Workflow

A predictable digital workflow reduces remakes, shortens chair time, and improves communication between the clinic and planning lab.

  1. Register your clinic account and review the submission checklist on the lab portal
  2. Capture intraoral scans, radiographs, photos, and bite registration per lab specifications
  3. Complete the digital prescription with treatment goals, limitations, and special instructions
  4. Upload files through the secure portal and confirm case receipt with the planning team
  5. Review returned staging, request revisions if needed, and approve the final setup for fabrication
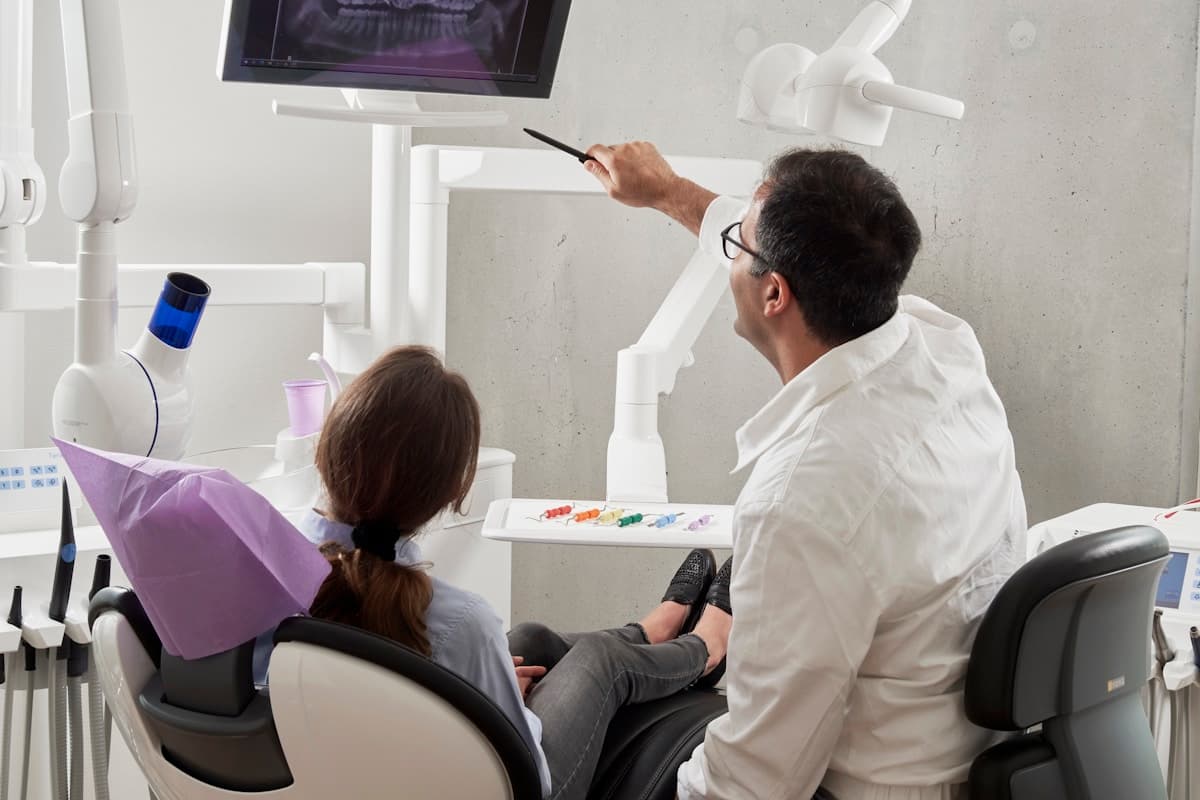
Dentist reviewing a panoramic dental X-ray with a patient during case consultation
Digital planning connects clinical records with lab-ready design outputs.

Best Practices

Planning tip

Submit complete records early—photos, scans, and bite data—so planners can flag risks before design begins.

  • Start with a straightforward case for your first submission to learn the workflow without complexity pressure
  • Label scan files clearly and verify both arches exported with correct orientation before upload
  • Include clinical photos showing smile at rest, retracted views, and occlusal perspectives
  • Ask questions during the first staging review—planners expect onboarding dialogue on initial cases

Common Mistakes to Avoid

  • Submitting scans with missing teeth, soft tissue artifacts, or incomplete distal molar capture
  • Leaving the treatment prescription vague, forcing planners to assume goals and limitations
  • Uploading incompatible file formats without confirming scanner-to-lab compatibility first
  • Approving the first staging return without review because the process feels unfamiliar

“Accuracy in planning is not about more software—it is about better inputs, experienced review, and manufacturing-aware design decisions.”

— Dental Planning Lab clinical team

Conclusion

Strong outcomes in how to submit your first aligner case to a planning lab depend on clear clinical goals, accurate records, and a planning partner who understands manufacturing requirements. Explore our specialist service, review the case submission workflow, or contact our team to discuss your next case.

Key Takeaways

  • First case submission is a learning investment—choose a simple case to master the workflow
  • Complete records and a detailed prescription are the two factors that determine planning quality
  • Digital portals eliminate physical model shipping and accelerate turnaround for most cases
  • Staging review is collaborative on first cases—use planner feedback to refine future submissions

Table of Contents

  1. Clinical Benefits
  2. Clinical Applications
  3. Digital Workflow
  4. Best Practices
  5. Common Mistakes to Avoid
  6. Conclusion

FAQ

Frequently Asked Questions

Most labs accept STL, PLY, and OBJ scan files from major intraoral scanners including 3Shape TRIOS, iTero, Medit, and Primescan. Confirm compatibility with your lab before the first submission. Some platforms also accept native scanner project files for higher-fidelity transfer.

Digital-only workflows are standard for most planning labs. High-quality intraoral scans eliminate the need for physical impressions in the majority of cases. Physical models may be requested only when scan quality is insufficient or for complex bite relationship verification.

Use the digital prescription form to specify arch involvement, desired movements, teeth that must not move, attachment preferences, IPR tolerance, and any planned restorative work. Supplement with clinical notes for nuances that forms do not capture, such as patient aesthetic priorities.

Upon approval, the lab finalizes the staging files and either returns them for in-house fabrication or coordinates with your aligner manufacturer. You receive tray maps, IPR schedules, and attachment placement guides aligned to the approved digital setup.

Keep Reading

Related Articles

Patient fitting a clear aligner tray during orthodontic treatment planning
Aligner Treatment Planning·5 min read·January 15, 2024

Clear Aligner Treatment Planning: A Complete Guide for Dentists

Master the fundamentals of digital clear aligner treatment planning—from diagnosis and staging to attachments, refinements, and lab collaboration—for predictable orthodontic outcomes.

Read Article →
Cross-section dental implant model showing prosthetic crown and bone integration
Implant Planning·5 min read·July 8, 2024

Prosthetically Driven Implant Planning: Step-by-Step Guide

Prosthetically driven implant planning starts with the final restoration in mind. Follow this step-by-step guide to position implants for optimal aesthetics, function, and long-term success.

Read Article →
Clinician analyzing a panoramic dental X-ray on a monitor for implant planning
Implant Planning·5 min read·August 14, 2024

CBCT to Implant Plan: The Complete Digital Workflow

From CBCT acquisition to surgical guide delivery, this guide covers the complete digital implant planning workflow—including data merging, nerve mapping, and guide fabrication.

Read Article →

Ready to Discuss Your Next Digital Dental Case?

Partner with Dental Planning Lab for accurate planning, expert digital design, and manufacturing-ready outputs trusted by dental professionals worldwide.

Submit a Trial CaseContact Us