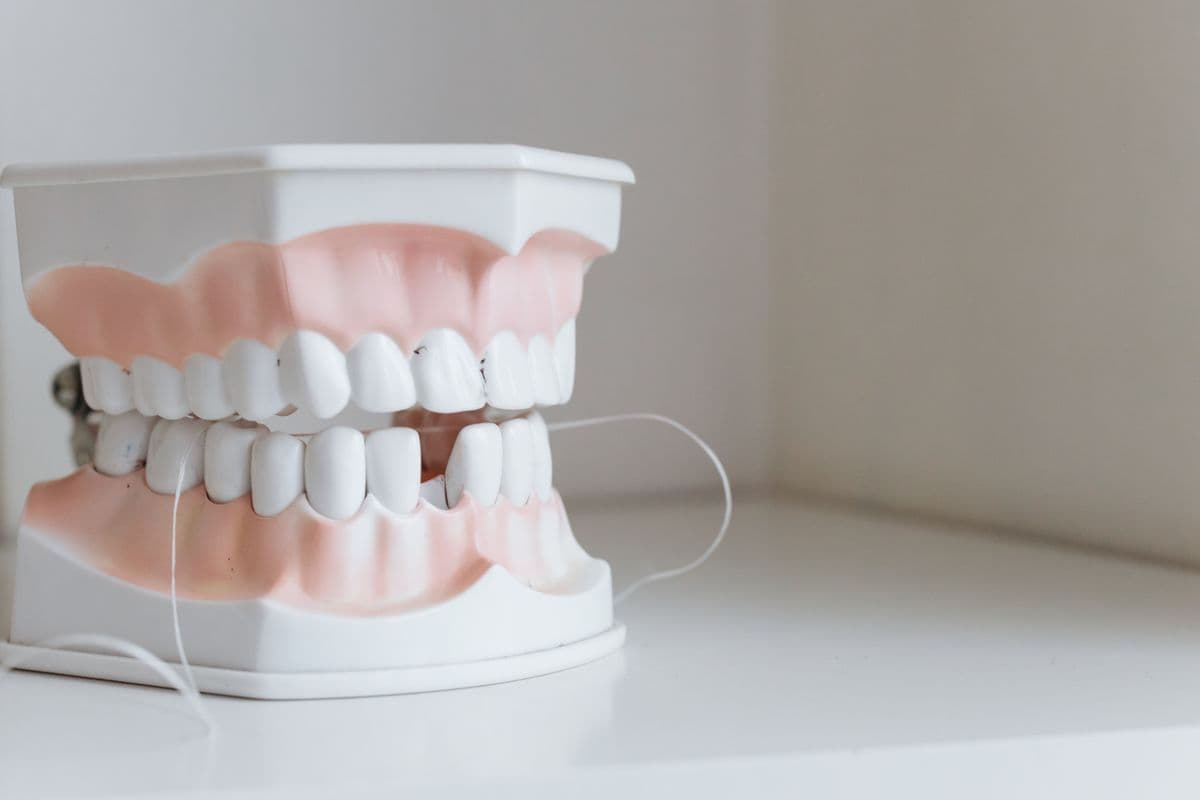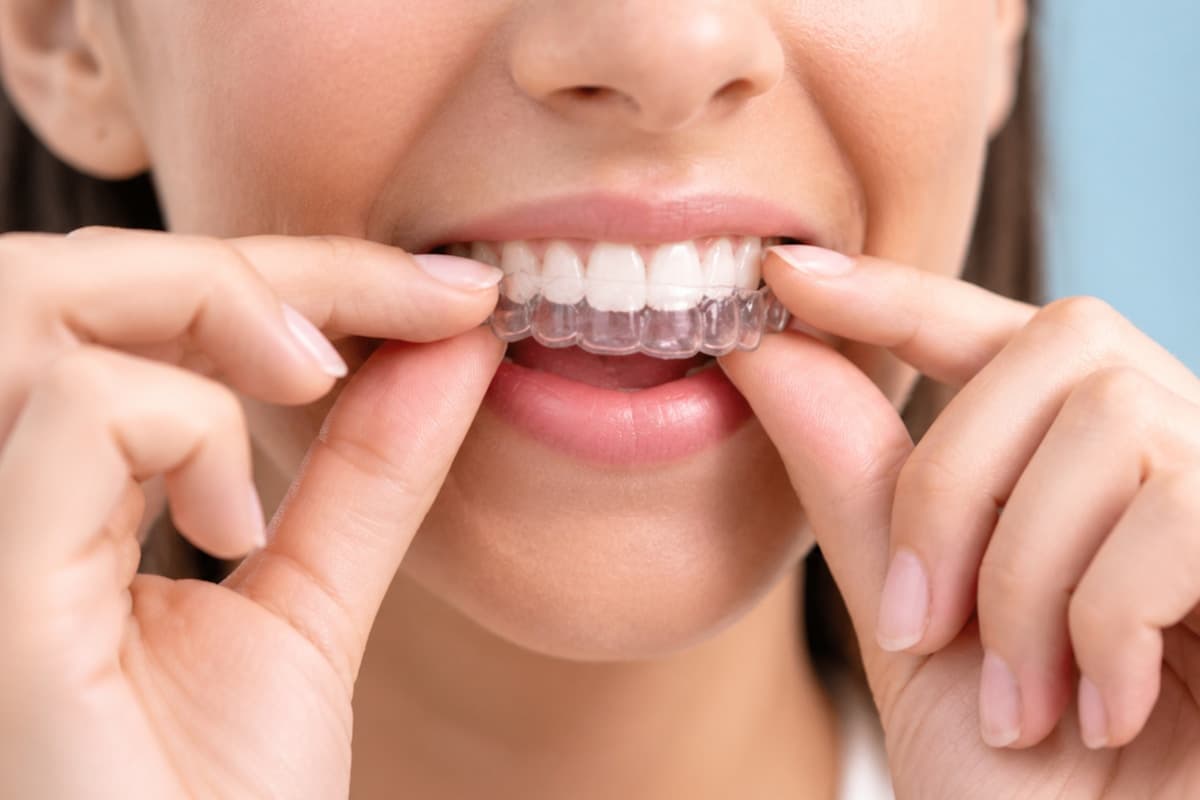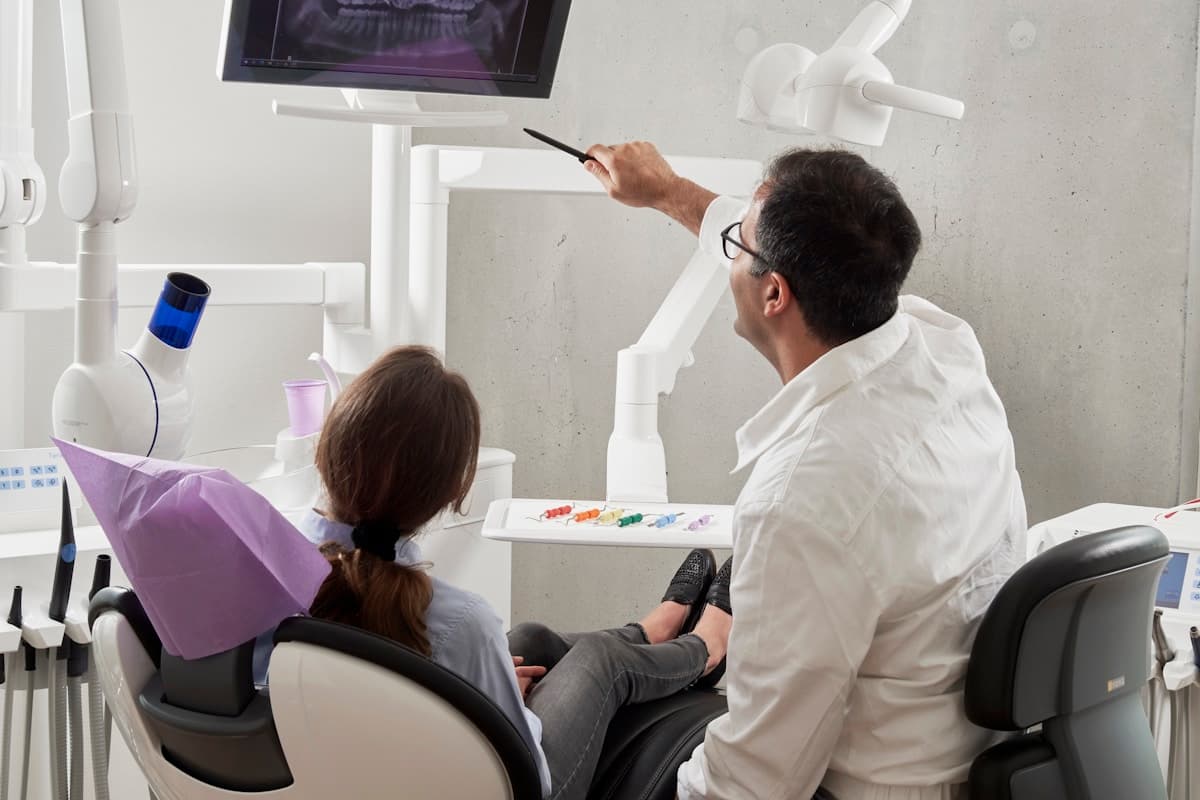
Digital removable partial denture design replaces manual surveying and waxing with CAD tools that analyze undercuts, generate blockout, and design frameworks with consistent precision. Our partial denture design service processes RPD cases from intraoral scan through framework export, following established prosthodontic principles in a digital environment. This guide covers the survey-to-framework pathway clinicians should understand when submitting cases via our workflow.
Why a Structured Workflow Matters
- Consistent survey analysis without manual surveyor variability between technicians
- Precise blockout control that optimizes clasp retention and guide plane parallelism
- Framework designs with uniform connector dimensions and standardized clasp configurations
- Digital records that simplify future framework remakes and design modifications
Where It Fits in Treatment Planning
This survey-to-framework sequence applies across Kennedy classifications, though the path of insertion and clasp design decisions change significantly with each partially edentulous pattern.
- Kennedy Class I and II distal extension partial dentures with cast metal frameworks
- Kennedy Class III bounded partial dentures with tooth-supported clasp designs
- Acetal and flexible partial denture designs using digital tooth setup and base contouring
- Framework design for cases transitioning to implant-supported prosthetics in future phases
The Digital Workflow, Step by Step
Framework design decisions made during the digital survey step are difficult to reverse once milling begins, so this workflow front-loads the judgment calls that used to happen at the lab bench.
- Scan the dentate arch with attention to soft tissue and edentulous saddle areas
- Perform digital survey to identify guide planes, undercuts, and path of insertion
- Apply blockout and design clasp assemblies with appropriate retention and reciprocation
- Design major and minor connectors following biomechanical and tissue coverage principles
- Export framework design for casting, printing, or milling per material specification
Best Practices
- Capture complete arch scans including edentulous saddles and adjacent soft tissue
- Communicate desired path of insertion when anatomical considerations allow alternatives
- Specify framework material—cobalt-chrome, titanium, or acetal—in the case prescription
- Include rest seat preparation status in the submission so designers account for support geometry
Common Pitfalls
- Submitting incomplete scans that omit edentulous saddle areas or distal extension zones
- Failing to prepare rest seats before scanning, requiring clinical adjustment post-design
- Requesting clasp types incompatible with surveyed undercut depths at abutment teeth
- Omitting opposing arch scan data needed for occlusal clearance in framework design
“A digital surveyor doesn't remove the judgment call of choosing a path of insertion—it just lets you test that judgment before committing to a framework design.”
Conclusion
Strong outcomes in digital rpd design: from survey to framework depend on clear clinical goals, accurate records, and a planning partner who understands manufacturing requirements. Explore our specialist service, review the case submission workflow, or contact our team to discuss your next case.